
WAMP (Windows, Apache, mySQL, PHP) is all in one packages which installs the basic programs, you will need to get a localhost running and to be able to build and run PHP scripts.
If you are installing WampServer first time, then these following step will help you that how to install the WampServer in your computer. We have the following packages installed along with WAMP,
- Wamp Server
- Apache
- PHP
- Mysql
- phpMyadmin
LET’s SEE THE INSTALLATION PROCEDURE:
Step 1
You will find two options for the selection of WampServer for your windows after clicking on “Download” link at the main navigation of WampServer official site.

Click on the above version of your computer to download the respective wamp server.
Step 2
After downloading WampServer, you will notice WampServer icon at your download location.

Step 3
Double Click on the Wamp icon to Install WampServer on your windows. You will receive a Security Warning after opening WampServer file. It is absolutely normal to run WampServer setup on windows.

Step 4
It’s a free source software. So agree the licence of wampserver and press Next Button.

Step 5
Next You want to select location for Installing wamp server. Normally it shows you the location in your Location disc C. You may continue with Local disk C or you can change the location of the destination files on some other location using the browse button.
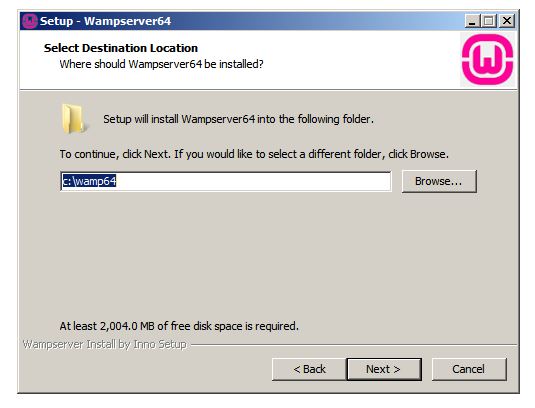
Step 6
Now the setup is ready on your computer and you can begin the installation by pressing the INSTALL button.

Step 7
On installing, it shows whether select programmes running on your computer to set default. Just skip that step and proceed further.
Finally the WAMP SERVER is installed on your computer.
